How to Import EWB Data in GSTR-1: Step-by-Step Guide
- 17 Sep 25
- 9 mins
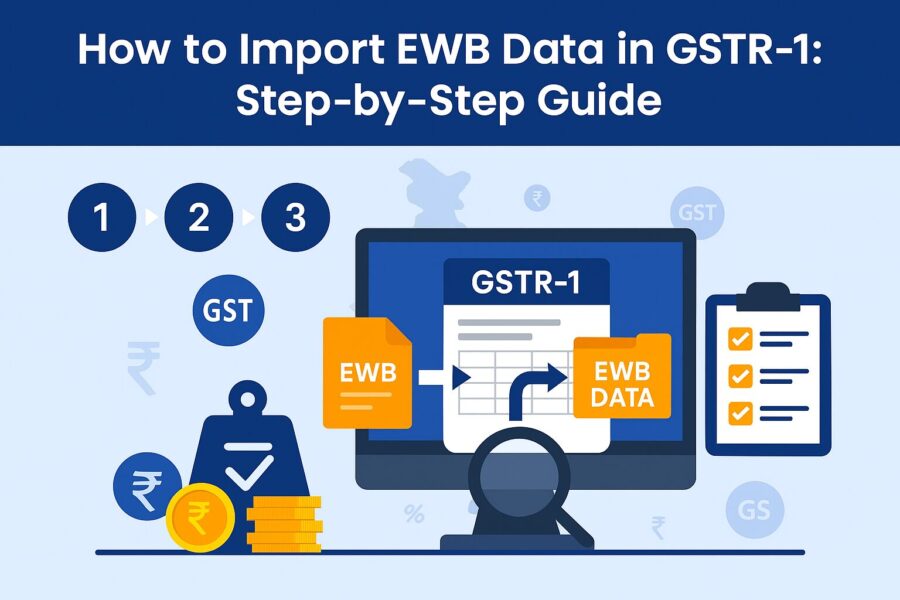
How to Import EWB Data in GSTR-1: Step-by-Step Guide
- Why Was the Feature to Import Invoices Introduced?
- What Details Can Be Imported from the E-way Bill Site?
- How to Download and Import Data from the E-Way Bill Portal?
- Import B2B EWB Invoices in Form GSTR-1
- Import B2CL EWB Invoices in Form GSTR-1
- Populate HSN-wise Summary of Outward Supplies
- What to Do After Downloading the Invoices in Excel?
- Conclusion
Key Takeaways
- The new Import EWB Data in GSTR-1 feature simplifies return filing by directly pulling e-way bill details into the GST portal.
- Taxpayers can import B2B, B2C (Large), and HSN-wise invoices from the e-way bill portal into GSTR-1 for accurate reporting.
- For less than 50 invoices, data can be imported directly, while larger volumes require CSV or Excel uploads in GSTR-1.
- Importing EWB invoices in GSTR-1 reduces manual entry errors and improves compliance monitoring by tax authorities.
- Businesses save time and ensure error-free filing with the new GST EWB import process using online and offline utilities.
Importing EWB in GSTR-1 is a newly introduced process. Earlier, taxpayers had to first download E-way bill data from the official website and then upload it on the GST portal. The newly introduced process has helped taxpayers experience a hassle-free journey. Learn how to import EWB data in GSTR-1 here to ensure an error-free process.
Why Was the Feature to Import Invoices Introduced?
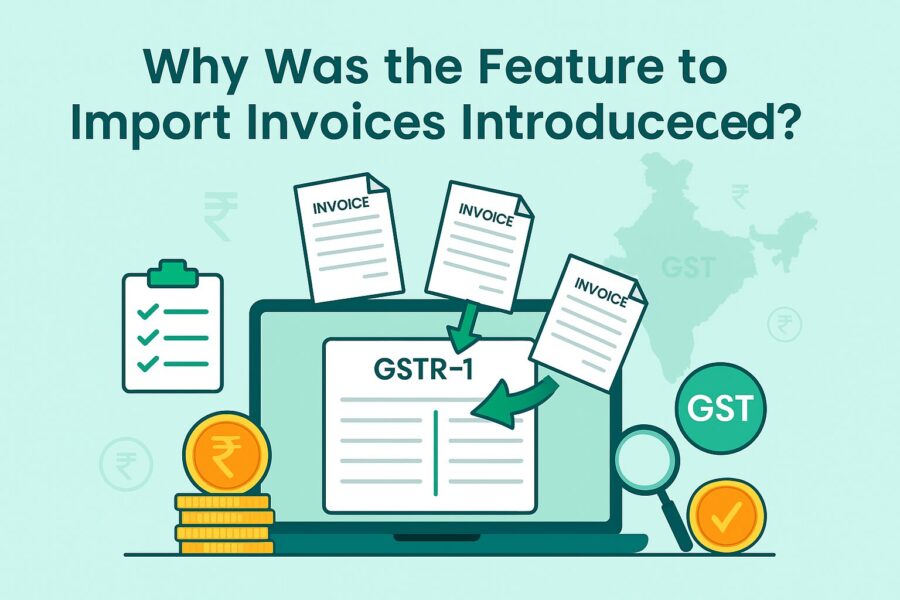
Initially, taxpayers had to upload invoices on the E-way bill website and then navigate to the unified GST portal to file GSTR-1. To avoid navigating twice, the option of GSTR-1 filing dashboard - ‘Import EWB Data’ has been added for 3 tiles.
This helps reduce errors while you input data as a taxpayer. It further helps tax authorities identify instances of tax evasion, if any.
What Details Can Be Imported from the E-way Bill Site?
You can import the following tiles or tables in GSTR-1 from the e-way bill website:
● 4A, 4B, 4C, 6B and 6C including B2B invoices can be imported. These invoices include details of sales transactions between GST-registered suppliers.
● 5A, 5B which are B2C invoices can be imported. These invoices entail details of sales transactions between a GST-registered person and an unregistered dealer, whether inter-state or with the invoice value exceeding ₹2.5 lakh.
● You can import Table 12, which includes an HSN-wise summary of sales or outward supplies.
Notably, you need to choose the respective tiles for successful import.
As a user, you can get data from the e-way bill site in the following ways:
● You can import directly if the number of invoices is 50 or below.
● If the number of invoices exceeds 50, you need to download a ‘CSV file’, arrange it in Excel format to import and then upload it to GSTR-1.
How to Download and Import Data from the E-Way Bill Portal?
Here is the process to download and import data from the E-way bill portal:
Step 1: Log in to the GSTR-1 dashboard and on the official GST portal navigate to the 'Return Dashboard'.
Step 2: Choose the financial year and the month for which you are paying tax before you click on ‘Prepare Online’. In other words, you need to choose the previous tax period and not the current period as the return period.
Step 3: Click on the relevant tile for which you need to import invoices from the e-way bill site. Notably, you can import an invoice multiple times. However, if the invoice exists in GSTR-1, you will receive a pop-up warning message. Ensure you click ‘yes’ if you want to replace and import.
Step 4: Import the relevant data into the necessary tiles and continue filing GSTR-1.
Import B2B EWB Invoices in Form GSTR-1
You can import B2B EWB invoices in Form GSTR-1 in the following way if the invoice count is less than 50 (Notably, you need to click on 4A, 4B, 4C, 6B, 6C - B2B Invoices tile prior to the following steps):
Step 1: You need to checkmark ‘Select All’ or the respective invoices which you need to import.
Step 2: Click on ‘Import’.
Step 3: You will receive a pop-up message showing your selected invoices will overwrite the existing GSTR-1 details. Ensure you click ‘Ok’.
Step 4: Once you receive the confirmation message, close the message box.
Step 5: You can view the import history after a few minutes and the status will show as 'Processed'.
Step 6: You will see imported details of invoices against the B2B tile.
Step 7: Verify the details and check for rectifications if changes are required.
In case the number of invoices exceeds 50, you need to follow the steps mentioned below:
Step 1: Click ‘Download’ to receive the CSV files.
Step 2: Open the file and check for details and errors, if any. Proceed in a similar way as for a number of invoices less than 50, thereafter.
If the number of invoices is more than 500, follow the below-mentioned steps:
Step 1: Click ‘Generate File to Download’.
Step 2: You will find a pop-up message asking you to wait for 20 minutes.
Step 3: After 20 minutes, you will receive a link to download a zip folder which you need to extract in Excel.
Step 4: Open the extracted Excel file to view B2B EWB invoices. Edit if you find any discrepancies and rectify the same. Once you are done, upload the file in the GSTR-1 Excel sheet.
Import B2CL EWB Invoices in Form GSTR-1
Here is how to import data from B2CL EWB invoices in Form GSTR-1:
If the number of B2CL invoices is less than 50, follow the process mentioned below:
Step 1: Mark ‘Select All’ or the necessary invoices.
Step 2: Click on the ‘Import option and follow the same steps as B2B invoices.
For a number of invoices above 50 and 500 follow the same steps as B2B invoices. Notably, the first step in this case will be to select '5A, 5B -B2C (Large) Invoices' before you proceed.
Populate HSN-wise Summary of Outward Supplies
You can follow the steps mentioned below to populate HSN-wise data:
Step 1: Click on ‘Import EWB Data’ under ‘12 - HSN-wise Sunmary of Outward Supples’.
Step 2: In case the number of invoices is less than 50, click 'Download' to receive hsn,csv.file. Check for discrepancies, edit if required and upload in GSTR-1.
Step 3: In case the number of invoices is less than 500 but exceeds 50 or above 500, follow the steps for B2B files. Once you complete it, upload the file in GSTR-1.
What to Do After Downloading the Invoices in Excel?
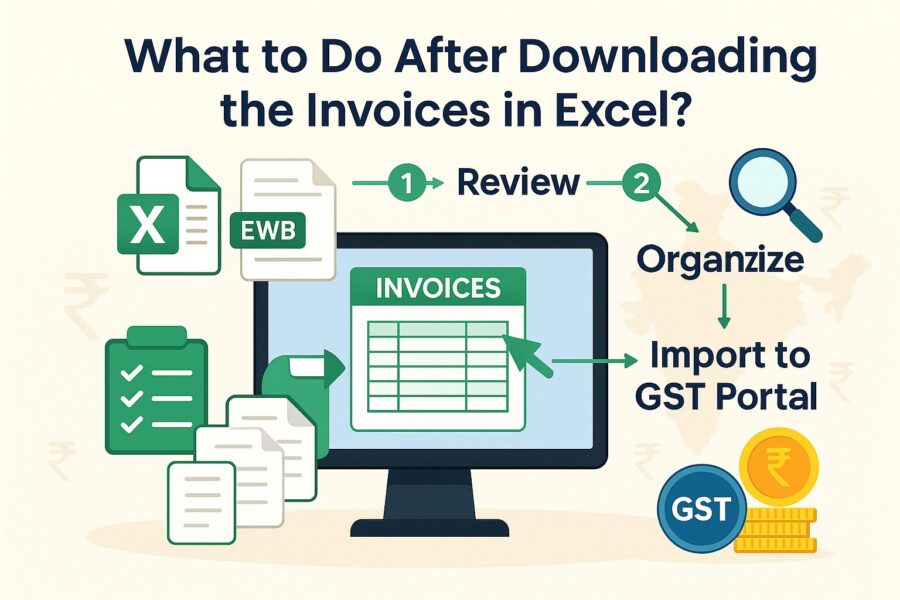
Here is what you need to do after you download invoices in Excel:
Option 1: Import Excel Worksheet Through Offline Utility Tool
You need to follow the steps provided below for the first option:
Step 1: Import the relevant file and prepare it in the necessary format.
Step 2: On the return offline tool, click on ‘Import Files’.
Step 3: Click on ‘Import Excel’, browse and choose the relevant sheet.
Step 4: To proceed, click ‘Yes’. On completion, you will receive a confirmation message.
Step 5: Click on ‘Back’ to view the invoices populated in Excel on your screen. Notably, you can edit or delete the uploaded data using the necessary options.
Option 2: Copy and Paste from Excel Worksheet
Here are the steps to follow for the second option:
Step 1: Edit the Excel sheet that you downloaded, in the necessary return format. Ensure you copy the header and the data from the Excel sheet.
Step 2: Click on ‘Import Files’ on the returns offline tool and select ‘Copy Excel’.
Step 3: You will receive a confirmation message. Ensure you click on ‘Yes’ to save the data. Once you complete it, you will see invoices in the Excel sheet uploaded.
Reporting Additional Bills That Are Not Covered by the E-way Bill Portal
You can upload missing invoices in the following two ways:
Prepare Online with Manual Data Entry
If you choose ‘Prepare Online’ you need to follow the same process as you follow while uploading fresh invoices.
Prepare Offline
In case, you choose ‘Prepare Offline’, you can choose any of the below-mentioned options:
● Import Excel File: Make the Excel file for the concerned missing invoices and then follow the steps for fresh invoices.
● Copy from Excel File: Prepare the Excel file and copy details from the file.
● Import the CSV File: Import invoice data in a CSV file and make a formatted file in JSON following the necessary steps.
Conclusion
If you know how to import EWB data in GSTR-1, you can seamlessly import and upload data in the form. This not only saves time but also helps improve accuracy in data extraction and upload.
Ensure you follow the steps minutely to avoid errors and enjoy a smooth process.
💡If you want to streamline your payment and make GST payments via credit, debit card or UPI, consider using the PICE App. Explore the PICE App today and take your business to new heights.
 By
By 


