How to Upload JSON File in GSTR 1?
Bio
Shreyansh Singh, an IIT Kanpur alumnus, has eight years of experience in the finance industry. He has spent 5 years at American Express developing mid to long-term strategies for multiple markets including US, Europe and India. Shreyansh currently leads Growth and Strategy initiatives at Pice.
- 1 Apr 25
- 7 mins


Share


How to Upload JSON File in GSTR 1?
- 08 Mins
- 01-04-25

Key Takeaways
- GSTR-1 JSON files enable structured GST return uploads.
- Use the offline tool to bulk upload invoices.
- Download JSONs by invoice type (B2B, B2C, etc.).
- Upload error-free files for smooth processing.
- Verify uploads after 30 minutes or re-upload.
GSTR-1 Form includes the details of outward supplies of goods and services. Normal as well as casual registered taxpayers need to use this form to file monthly or quarterly returns on the GST (Goods and Services Tax) portal. As a result, uploading this form accurately is essential for relevant taxpayers in India. Here is how to upload a JSON file in GSTR-1 format to ensure seamless GST return filing.
What Is a JSON File in GST?
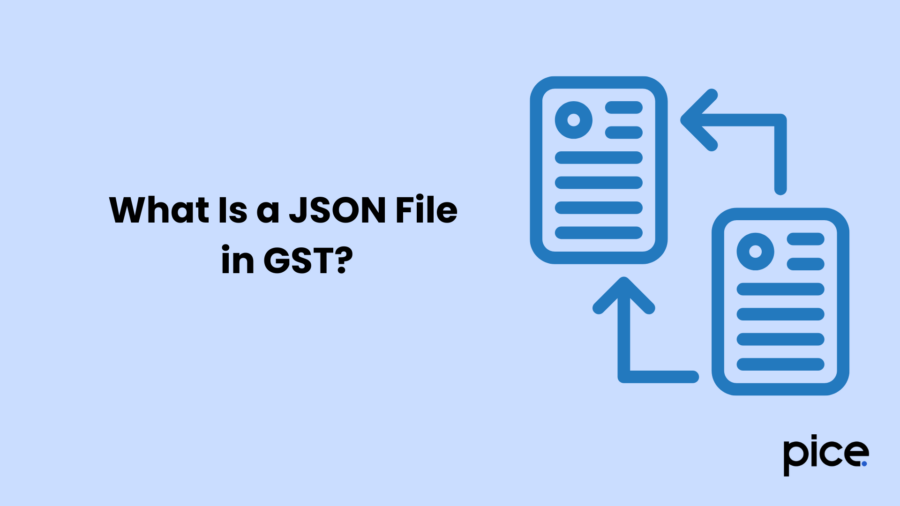
A JSON file is a JAVA-oriented file for a computer that prompts human-readable texts. It includes data objects or in other words an array of data in a file that can effectively replace XML, as it has the potential to send structured data to web applications from a server.
Under the GST system, the use of JSON files includes transmitting invoice data to government portals like the unified GST portal. It aids in E-way bill creation followed by filing GST reports and returns. The latest version of the application allows the creation of e-invoices, promoting GST compliance for taxpayers in India.
GST Returns Offline Tool
The GST return offline tool enables taxpayers under the GST system to upload bulk invoices to avoid the exhausting, time-consuming and cost-intensive processes of uploading multiple invoices one at a time.
Goods and Services Tax Network (GSTN) allows taxpayers to use this tool wherein they can add up to 19,000 line items. Notably, taxpayers can use this tool in the offline mode to upload multiple invoices together on the unified GST portal. If taxpayers have additional invoice data, the GSTN allows the use of the return offline tool more than once to upload such invoice details.
In addition, as a taxpayer, you can use the offline tool to download auto-populated data from Form GSTR-2. You can further declare your ITC eligibility (Input Tax Credit eligibility) and the amount of ITC availed using this tool before you upload a form on the official GST portal.
Download the JSON File for GST Return Filing
Here is the step-by-step process to download JSON files for GST return filing:
Step 1: Navigate to ‘GST Filing’, ‘GSTR-1’ and then ‘Overview’.
Step 2: From the drop-down menu, choose the month for which you want to file a GSTR-1 return.
Step 3: On completion, click on ‘Download B2B JSON’ to download JSON files in parts.
You can download the below-mentioned JSON files separately to file GSTR-1:
● JSON for B2B invoices
● JSON for B2C small invoices
● JSON for B2C large invoices
● JSON for export invoices
● JSON for invoice amendments
● JSON for HSN summary
● GSTR-1 return in JSON format
 ?feature=shared
Uploading JSON File to GST Portal
You need to follow the steps mentioned below to upload the downloaded JSON file on the unified portal of GST:
Step 1: Access Your GST Returns Dashboard
After downloading the GST return in JSON format from ledgers or offline GST return tool, you need to log in to the GST portal to operate the 'GST Return Dashboard'.
Step 2: Select the Month for Which GST Return Is to be Filed
Ensure you choose the correct month for which you need to file a GST return before you click on ‘Search’. Further, you need to choose the correct type of GST return prior to clicking ‘Prepare Offline’.
Step 3: Upload JSON File to GSTN
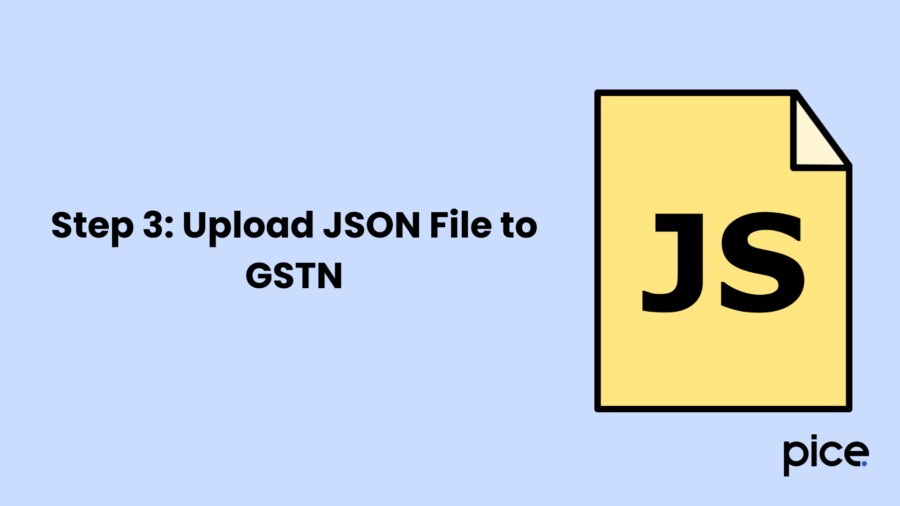
Click on ‘Choose File’, and select the JSON file from the relevant location in the ledger to upload the same automatically.
Step 4: Ensure the JSON File is Uploaded Successfully
On successful upload, you will receive a confirmation notification. However, if errors in format and structure are detected, you will receive an error message. Notably, the error report does not apply if you upload the correct JSON file.
You can further view the data or invoices on the official GST portal after 15 to 30 minutes of upload. Ensure you do not upload the JSON file more than once to avoid hassles. Nevertheless, if you are unable to view the data after a 30-minute lapse, you need to re-upload the same. Multiple uploads result in re-writing and appending, causing difficulties in the JSON file upload process.
Step 5: Verify Data on the GST Portal
The GSTN validates the data that you upload in JSON format after 30 minutes before adding the same on the GST portal and the taxpayer’s return dashboard. You can choose to select multiple sections to view the relevant data and invoices that you uploaded on the GST portal in JSON format.
Notably, you reserve the right to edit or delete inaccurate data on JSON files as error-free invoices appear separately on the portal. Moreover, you can incorporate additional details while you edit your JSON files.
Conclusion
To answer how to upload a JSON file in GSTR-1, it is crucial to mention that following the appropriate process can eliminate hassles ensuring seamless GST compliance. Upon uploading the downloaded GSTR-1 on the GST portal, ensure you check for status after 30 minutes.
In case you notice the form has not been uploaded, ensure to re-upload it to complete the process as per GST laws in India. This ensures a complete supply chain solution in the goods and services purchase and sales between GST-registered suppliers.
File returns within the deadline to avoid paying additional amounts such as late fees, penalties and interest. The entire return filing process should align with the regulations of the GST authorities. You can avoid uploading error files for a hassle-free experience.
💡If you want to streamline your payment and make GST payments via credit or debit card, UPI consider using the PICE App. Explore the PICE App today and take your business to new heights.
FAQs
What is a JSON file in the context of GSTR-1 filing?
A JSON file is a structured data format used to store and transmit invoice details digitally. In GSTR-1 filing, it carries information about outward supplies, which is uploaded to the GST portal. The format is preferred for its compatibility with GST systems and ease of data processing.
How can I generate a JSON file for GSTR-1?
You can generate a JSON file using the GST offline return tool or directly from accounting software that supports GST return formats. After entering your invoice data, the tool allows you to export it as a JSON file categorized by B2B, B2C, exports, etc., for upload on the GST portal.
What is the GST Offline Tool, and how does it help?
The GST Offline Tool allows taxpayers to prepare GSTR-1 returns without internet connectivity. It supports bulk entry and upload of invoices, reducing manual effort. You can upload up to 19,000 line items, and multiple files can be uploaded if needed.
What should I do if my JSON file upload fails on the GST portal?
If your upload fails, the portal will show an error message indicating the issue. You should download the error report, correct the mistakes in the offline tool, regenerate the JSON file, and re-upload it. Ensure the file follows the correct format and contains accurate data.
Can I edit or delete data after uploading the JSON file?
Yes, you can edit or delete invoice data after uploading the JSON file if needed. The GST portal allows modification of entries before final submission. Always verify your uploaded data under relevant sections within 30 minutes of upload for accuracy.
Read More About GST


About the author

Key Takeaways Earn 1% cashback on all eligible transactions. The...
 0
0


×


Want an answer to all your B2B Payment Problems?
Pay your Vendors and Collect from customers with ease using Pice's Payment Solutions. Get:
-
 Instant Transfer
-
 Lowest Rates
-
 Credit on all transaction