
How to File GSTR 7 Using Offline Utility in 2025?


Bio
Shreyansh Singh, an IIT Kanpur alumnus, has eight years of experience in the finance industry. He has spent 5 years at American Express developing mid to long-term strategies for multiple markets including US, Europe and India. Shreyansh currently leads Growth and Strategy initiatives at Pice.
- 1 Aug 25
- 11 mins


Share


How to File GSTR 7 Using Offline Utility in 2025?
- 08 Mins
- 01-08-25


Key Takeaways
- The GSTR-7 offline utility is an Excel-based tool used by TDS deductors and GST practitioners to prepare TDS returns without internet dependency.
- It helps record TDS details in Table 3 and amendments in Table 4, with built-in validation to minimize filing errors.
- Users must generate a JSON file from the tool and upload it on the GST portal for return submission.
- Error reports from failed uploads can be corrected within the utility and revalidated before resubmission.
- The offline tool simplifies compliance and enhances accuracy for TDS return filing under Section 51 of the CGST Act.
The GST regime in India has revolutionised the tax structure, nationwide. This system has introduced various crucial forms and procedures, the GSTR-7 being one of them. Registered taxpayers under the GST regime in India, who are required to deduct tax deducted at source (TDS) shall mandatorily file returns via Form GSTR-7.
The form consists of essential information regarding the deducted TDS, refund of TDS as well as TDS liabilities, among others.
This blog shall clarify how to file GSTR 7 using offline utility and other associated details.
Who Can Use the Offline Tool for GSTR-7?
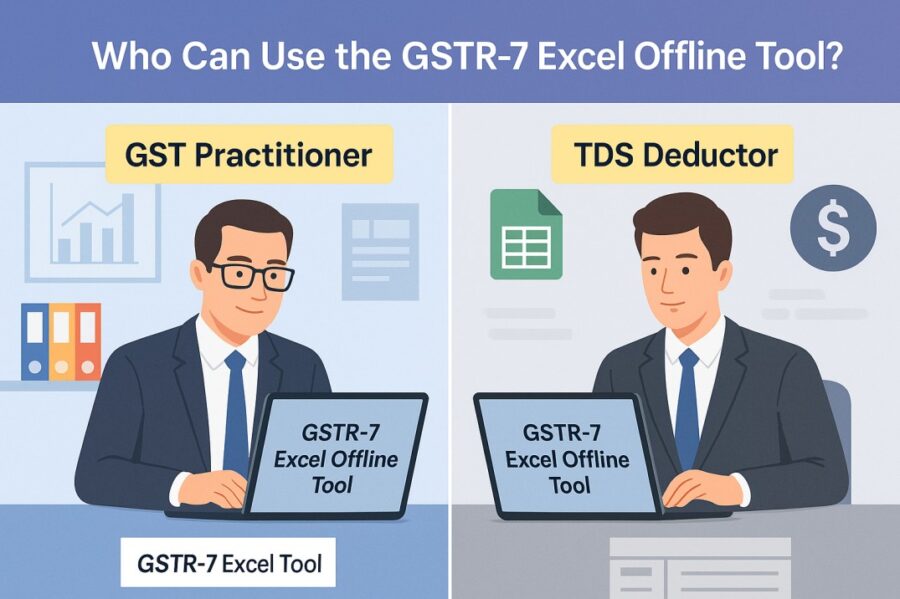
The Excel-based offline tool for GSTR-7 facilitates the return preparation in the offline mode. The following categories of people use the GSTR-7 offline tool:
- GST practitioners
- TDS deductors
GST practitioners and TDS deductors resort to this offline utility tool to make note of the following information:
- Transactions on which the provisions of TDS (under section 51 of the CGST Act, table 3) apply
- Amendment details in Table 4 of the GSTR-7 form .
Prerequisites to Use the Offline Tool for GSTR-7
Here are the prerequisites that the taxpayer should meet to use the offline tool for GSTR-7:
- Have access to Windows 7 or above
- Have access to MS Excel 2007 or above
Steps to Download the Offline Tool for GSTR-7
Here are the steps you can follow to successfully download the offline tool for GSTR-7:
Step 1: Visit the GST portal online.
Step 2: Go to the ‘Downloads’ section, choose ‘Offline Tools’ followed by ‘GSTR 7 Offline Utility’.
Step 3: Click on the ‘Download’ link once the GSTR-7 returns page pops up.
Step 4: Note that a ‘warning message’ shall be displayed. Simply press the 'Proceed' button to continue. The zipped GSTR-7 offline utility folder shall be downloaded on your device.
Step 5: Next, you must extract the ‘GSTR7_offline_utility’ Excel file from said zipped folder. Right-click on it and choose ‘Open’.
Step 6: Navigate to the ‘Enable Editing’ button and click on it to proceed.
Next, select the 'Enable Content' button. Hover over to the 'Read Me' section. Make sure to go through the instructions before filling out the worksheets.
Here are the 5 worksheets in the GSTR-7 offline utility tool that you will be presented with:
- Read Me
- 3 TDS
- Home
- Suppliers Master
- 4 Amend
Must reads
Steps to Fill Up the Tables of GSTR-7 on the Offline Utility
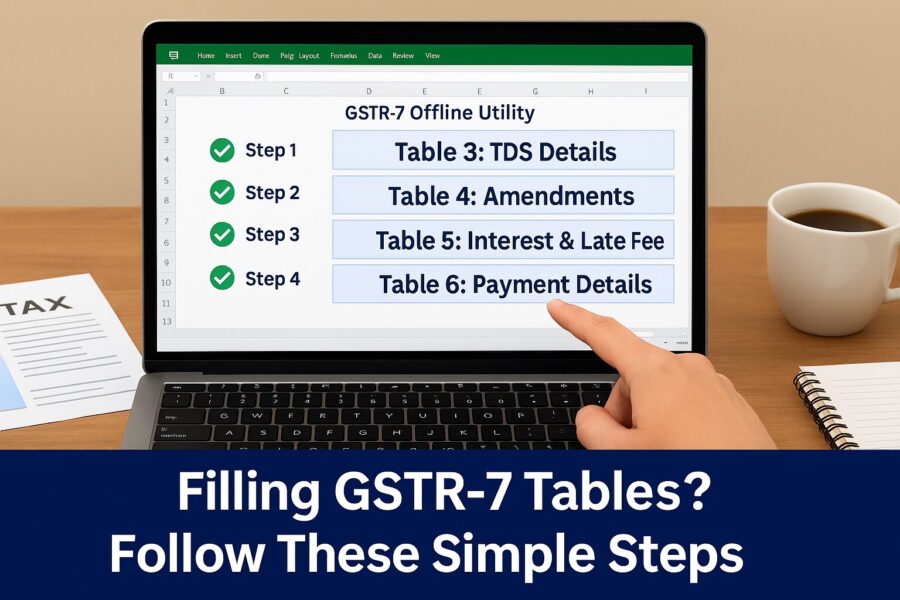
Here is a step-by-step guide to filling the tables of GSTR-7 using the offline utility:
Step 1: Visit the home tab to fill in the table-wise detail prompts. Type in the GSTIN, tax period and the relevant financial year.
Step 2: Navigate to the ‘Suppliers Master’ tab and type in the:
- GSTIN
- Legal name
- Trade name of the deductee
Providing the necessary information in this section fuels easy data population across Tables 3 and 4. However, it is not compulsory to fill in the ‘Suppliers Master’ section.
The Column B, serial number shall also auto-populate. The taxpayer can choose ‘Delete’ under the column that reads ‘Action’, in order to remove a row from the master sheet.
Step 3: Click on ‘Validate Sheet’ for a text to pop up, which should state ‘No Errors’. Click on ‘OK’ to move forward.
Step 4: Next, go to the ‘3 TDS’ tab. Here are the details you shall be required to provide:
Deductee’s Column B GSTIN: A drop-down list in this column shall contain the GSTINs as were updated within the master tab of the suppliers. So, you can select the GSTIN from the master list or type it in manually. GSTINs may also be copied and pasted from a different sheet.
Simply click on the "Enable Suppliers’ Master Drop-Down" tab. The button should then read, "Disable Suppliers’ Master Drop-Down". This can allow one to use the copy-and-paste facility.
Column C Amount as Paid to the Deductee (Tax is Deducted on it): Type in the paid amount to the deductee. Do not type in any negative values; entering decimal values is permitted.
Column D: Type in the IGST (integrated tax) amount. It should ideally be 2% of the amount input in column C.
Column E: Type in the CGST (central tax) amount. It should ideally be 1% of the amount input in column C, and equal to the amount entered in column F.
Column F: Type in the SGST (state tax) amount. It should ideally be 1% of the amount input in column C, and equal to the amount entered in column E.
Column G: Column G features a drop-down list with the following 2 options:
- Add: Choose ‘Add’ for every row with TDS data information.
- Delete: Go for the ‘Delete’ option to use it for subsequent uploads; to delete the rows which are already uploaded on the portal.
Note: The compulsory columns in this tab are B, C, D, E and F.
Step 5: Click on the 'Validate Sheet' button. In case of successful validation, column H will be blank.
An error message will appear and column H will show the specific error for each affected row in case of an unsuccessful validation. The erroneous cells will be highlighted in red, with a yellow description box displaying the issue.
Review and correct any errors found. Then, click the 'Validate Sheet' button again. If all entries are error-free, a confirmation message will appear. Click 'OK' to move forward.
Step 6: Navigate to the 4 amend section, in case any alterations are required in the previous months returns. If there are no changes to be made, one may skip this tab.
Here are the details that must be entered in this tab:
Columns B & C: Choose the month as well as year from the drop-down list presented to you.
Column D & F: Choose the GSTINs from the options displayed in the drop-down list.
Column G: Choose between ‘Yes’ and ‘No’ from the said drop-down list in case the records are rejected by the concerned deductee.
Column H: Type in the value on which the tax is being deducted. The value may be in decimals; avoid entering negative values.
Column I, J, K: Type in the integrated tax, central tax as well as the state tax values. The sum of CGST and SGST/IGST alone shall be 2% of the paid value (to the deductee).
Column L: If the records happen to get rejected by the deductee, specify the action initiated on those records.
Column M: It will display a drop-down list with 2 options to choose from:
Add: Choose ‘Add’ for every row containing TDS data.
Delete: Go for the ‘Delete’ option to use it for subsequent uploads; to delete the rows which are already uploaded on the portal.
The compulsory columns in this tab are B, C, D, F, H, I, J and K
Step 7: Generate the JSON file by going to the home tab and selecting the 'Get Summary' button.
Table 3 and Table 4 summaries containing all the details shall be displayed. Select the 'Generate JSON File to Upload' tab. Once a 'Save As' window pops up window, type in a file name. Click on ‘Save’.
How to Upload the Generated JSON File of GSTR-7?
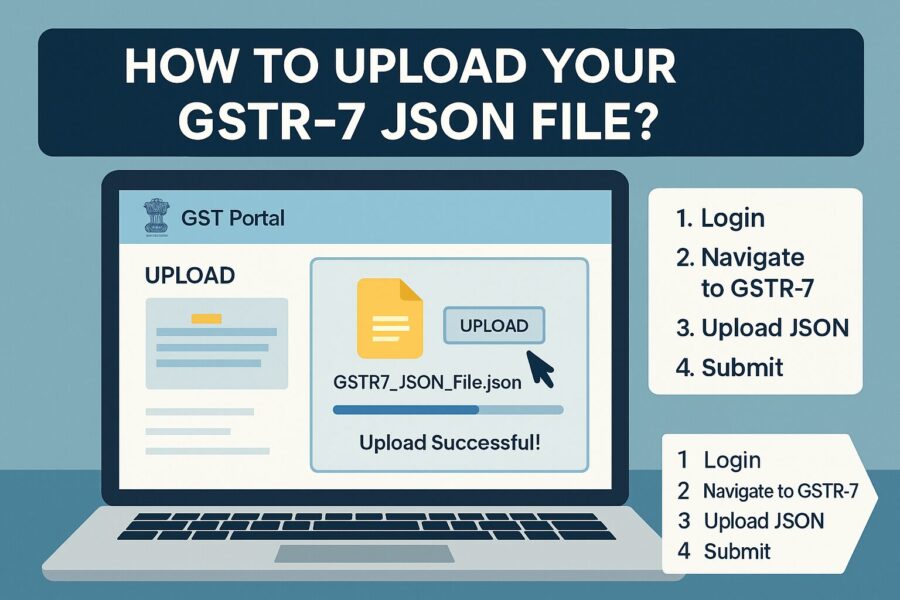
Here are the steps you can follow to upload the generated JSON file of GSTR-7:
Step 1: Log in to the GST portal by providing your credentials.
Step 2: Go to the ‘Services’ section, then to ‘Returns’ and finally, to the ‘Returns Dashboard’ section.
Step 3: On the file returns page, choose the relevant financial year and the return filing period. Click on ‘Search’ to continue.
Step 4: Go to the 'Prepare Offline' section on the GSTR-7 tile and the upload section shall be displayed.
Step 5: Select ‘Choose File’ and browse through your generated JSON file which is ready for uploading. Proceed to click on ‘Open’.
Upon successful upload, expect to see a text message pop up in green. This shall confirm the upload.
Step 6: After successful validation, select the 'Preview Draft GSTR-7' button displayed on the returns page.
Step 7: A draft pdf shall appear with a watermark. Go through the information carefully.
Step 8: Select the 'Proceed to File' option to proceed with filing, using either EVC or DSC.
How to Fix Errors in GSTR-7 Using an Offline Tool?
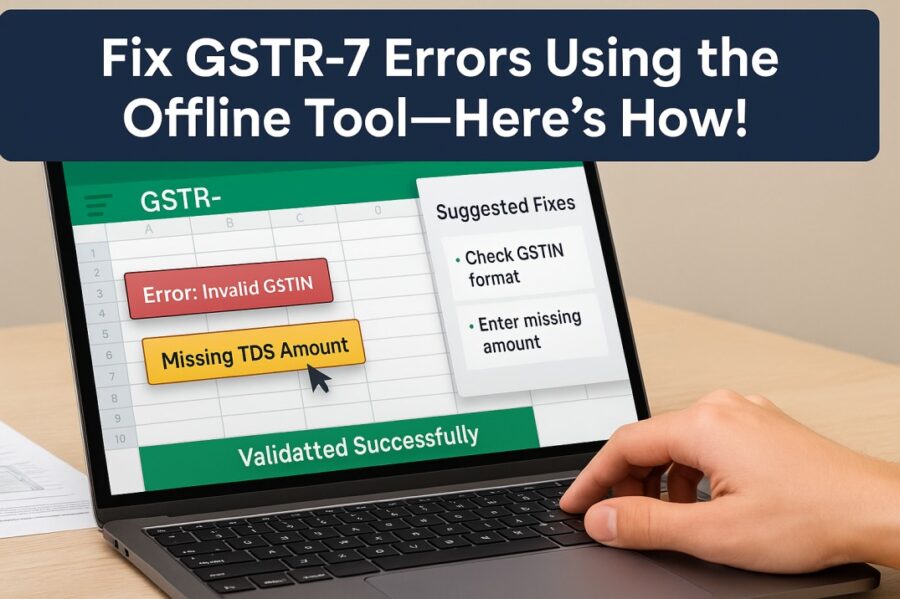
The following is a stepwise process you need for fixing errors in GSTR-7 form using an offline tool:
Part 1: Obtain the Error Report
Step 1: During the time of upload of your generated JSON file, if any errors are detected, the upload history table will display the status as 'Processed with Errors'.
Step 2: Click on the 'Generate Error Report' link. A confirmation message will appear and the status in the upload history table will update accordingly, reflecting the initiation of the error report generation.
Step 3: Once the error report has been generated, click on the 'Download Error Report' link to retrieve the zipped file containing the error report.
Step 4: Extract the contents of the zipped folder and save the JSON file to a preferred location on your system.
Part 2: View the Downloaded the GSTR-7 JSON File
Step 5: Navigate to the ‘Home’ tab and click the ‘Open Downloaded Error JSON File’ button located in the Error File Handling section.
Step 6: A file dialog box will appear. Locate and select the downloaded error file from your system. Click ‘OK’ to continue.
Step 7: A confirmation pop-up will notify you of a successful import. Click ‘OK’ to proceed.
Step 8: Switch to Tab 3 (TDS) and Tab 4 (Amend). You will see the entries that failed the validation check. Review the remarks under the column titled 'GST Portal Validation Errors' and make the necessary corrections.
Step 9: After editing the data, click on the ‘Validate Sheet’ button again. If all entries are correct, a success message will appear. Click ‘OK’ to continue.
Conclusion
Using the offline utility for filing GSTR-7 can simplify the process for tax deductors. It allows them to accurately report tax deductions and stay compliant by preparing the return offline and uploading the generated JSON file to the GST portal.
The offline tools minimise the chances of errors. It also streamlines the entire filing process, simplifying GST obligations for taxpayers. We hope that this guide expanding on how to file GSTR 7 using offline utility will put things in perspective for you.
Moreover, updates at regular intervals and the continued support from GST authorities enhance the utility's overall functionality, allowing for seamless GST compliance for all parties involved.
💡If you want to streamline your invoices and make payments via credit or debit card or UPI, consider using the PICE App. Explore the PICE App today and take your business to new heights.
FAQs
Who can use the GSTR-7 offline utility tool?
The GSTR-7 offline utility is designed for TDS deductors and GST practitioners who need to prepare and file GSTR-7 returns offline. It is especially useful when internet connectivity is limited or intermittent. This tool allows users to fill in details related to TDS transactions (Table 3) and amendments (Table 4) before generating a JSON file for upload to the GST portal.
What are the system requirements to use the GSTR-7 offline tool?
To use the GSTR-7 offline utility, users must have a system running on Windows 7 or above and Microsoft Excel 2007 or higher. Mac OS and Excel alternatives like Google Sheets or OpenOffice are not compatible. Additionally, users must enable macros and editing permissions to access all features of the tool. These prerequisites ensure smooth validation and file generation.
What details need to be filled in the offline utility?
Users need to fill in the deductee’s GSTIN, amount paid, and tax deducted in the ‘3 TDS’ tab. For past corrections, entries go in the ‘4 Amend’ tab. Optional information like supplier details can be filled in the ‘Suppliers Master’ tab to auto-populate dropdowns. All sheets must be validated for errors before the JSON file is generated for upload.
How do I upload the GSTR-7 JSON file to the GST portal?
Once the JSON file is generated through the utility, log in to the GST portal, go to Services → Returns → Returns Dashboard, and select the appropriate filing period. Under the GSTR-7 tile, click ‘Prepare Offline’, then use ‘Choose File’ to upload your JSON. Upon successful upload and validation, preview the draft return and file it using DSC or EVC.
How can I fix errors after uploading the GSTR-7 JSON file?
If the portal shows ‘Processed with Errors’, download the Error Report, extract the JSON file, and open it in the offline utility via ‘Open Downloaded Error JSON File’. The tool will highlight rows with errors in red, with comments in the ‘GST Portal Validation Errors’ column. After corrections, revalidate the sheet and generate a fresh JSON file to upload again.
Read More About GST


 for imports 7")
About the author

Key Takeaways Up to 25% discount on travel reservations on...
 0
0
0


×


Want an answer to all your B2B Payment Problems?
Pay your Vendors and Collect from customers with ease using Pice's Payment Solutions. Get:
-
 Instant Transfer
-
 Lowest Rates
-
 Credit on all transaction